Here's how to set up your 1TB HDD + Adapter! Make sure your console is OFF while installing the hdd. DM us or email us if you need further assistance.

First, attach the bracket to the harddrive.
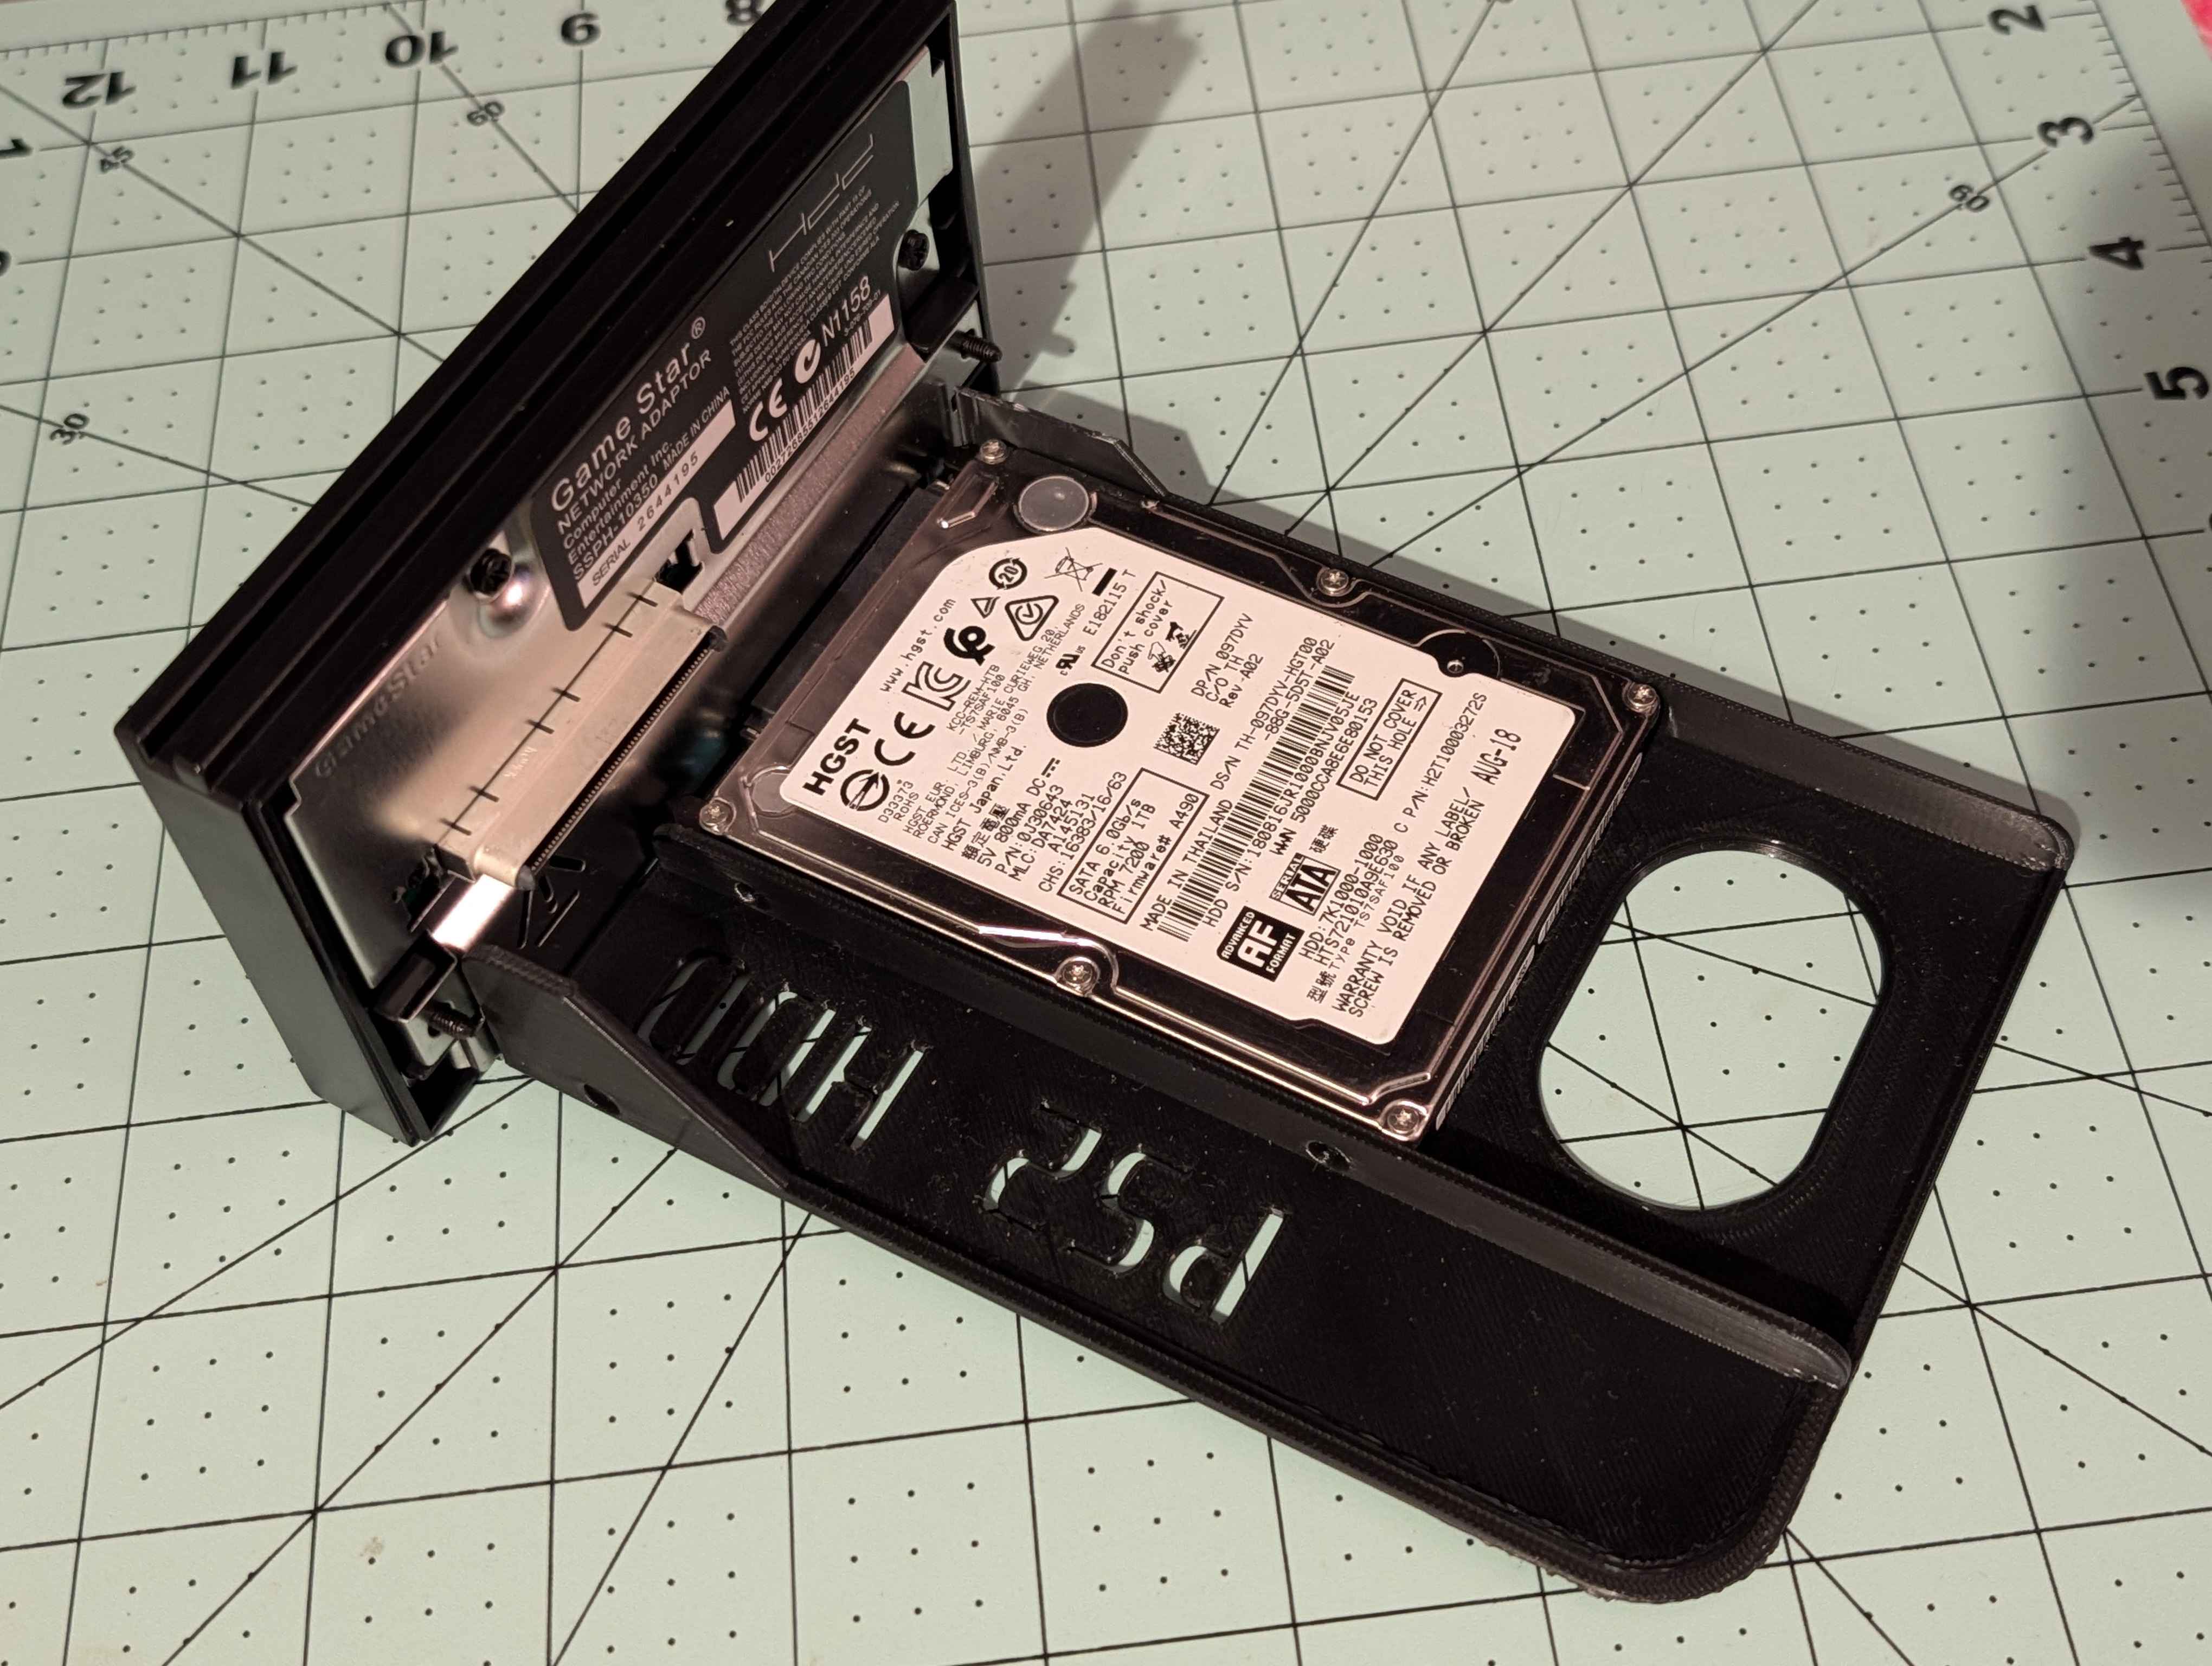
On the backside of the bracket there is a peice of electrical tape. Use the tape to secure the drive to the adapter as pictured below:


This will help ensure that the drive does not become loose when installing into your PS2 Console.

When you insert the bracket into your PS2, you want to make sure that this part of the Adapter plugs into your console.
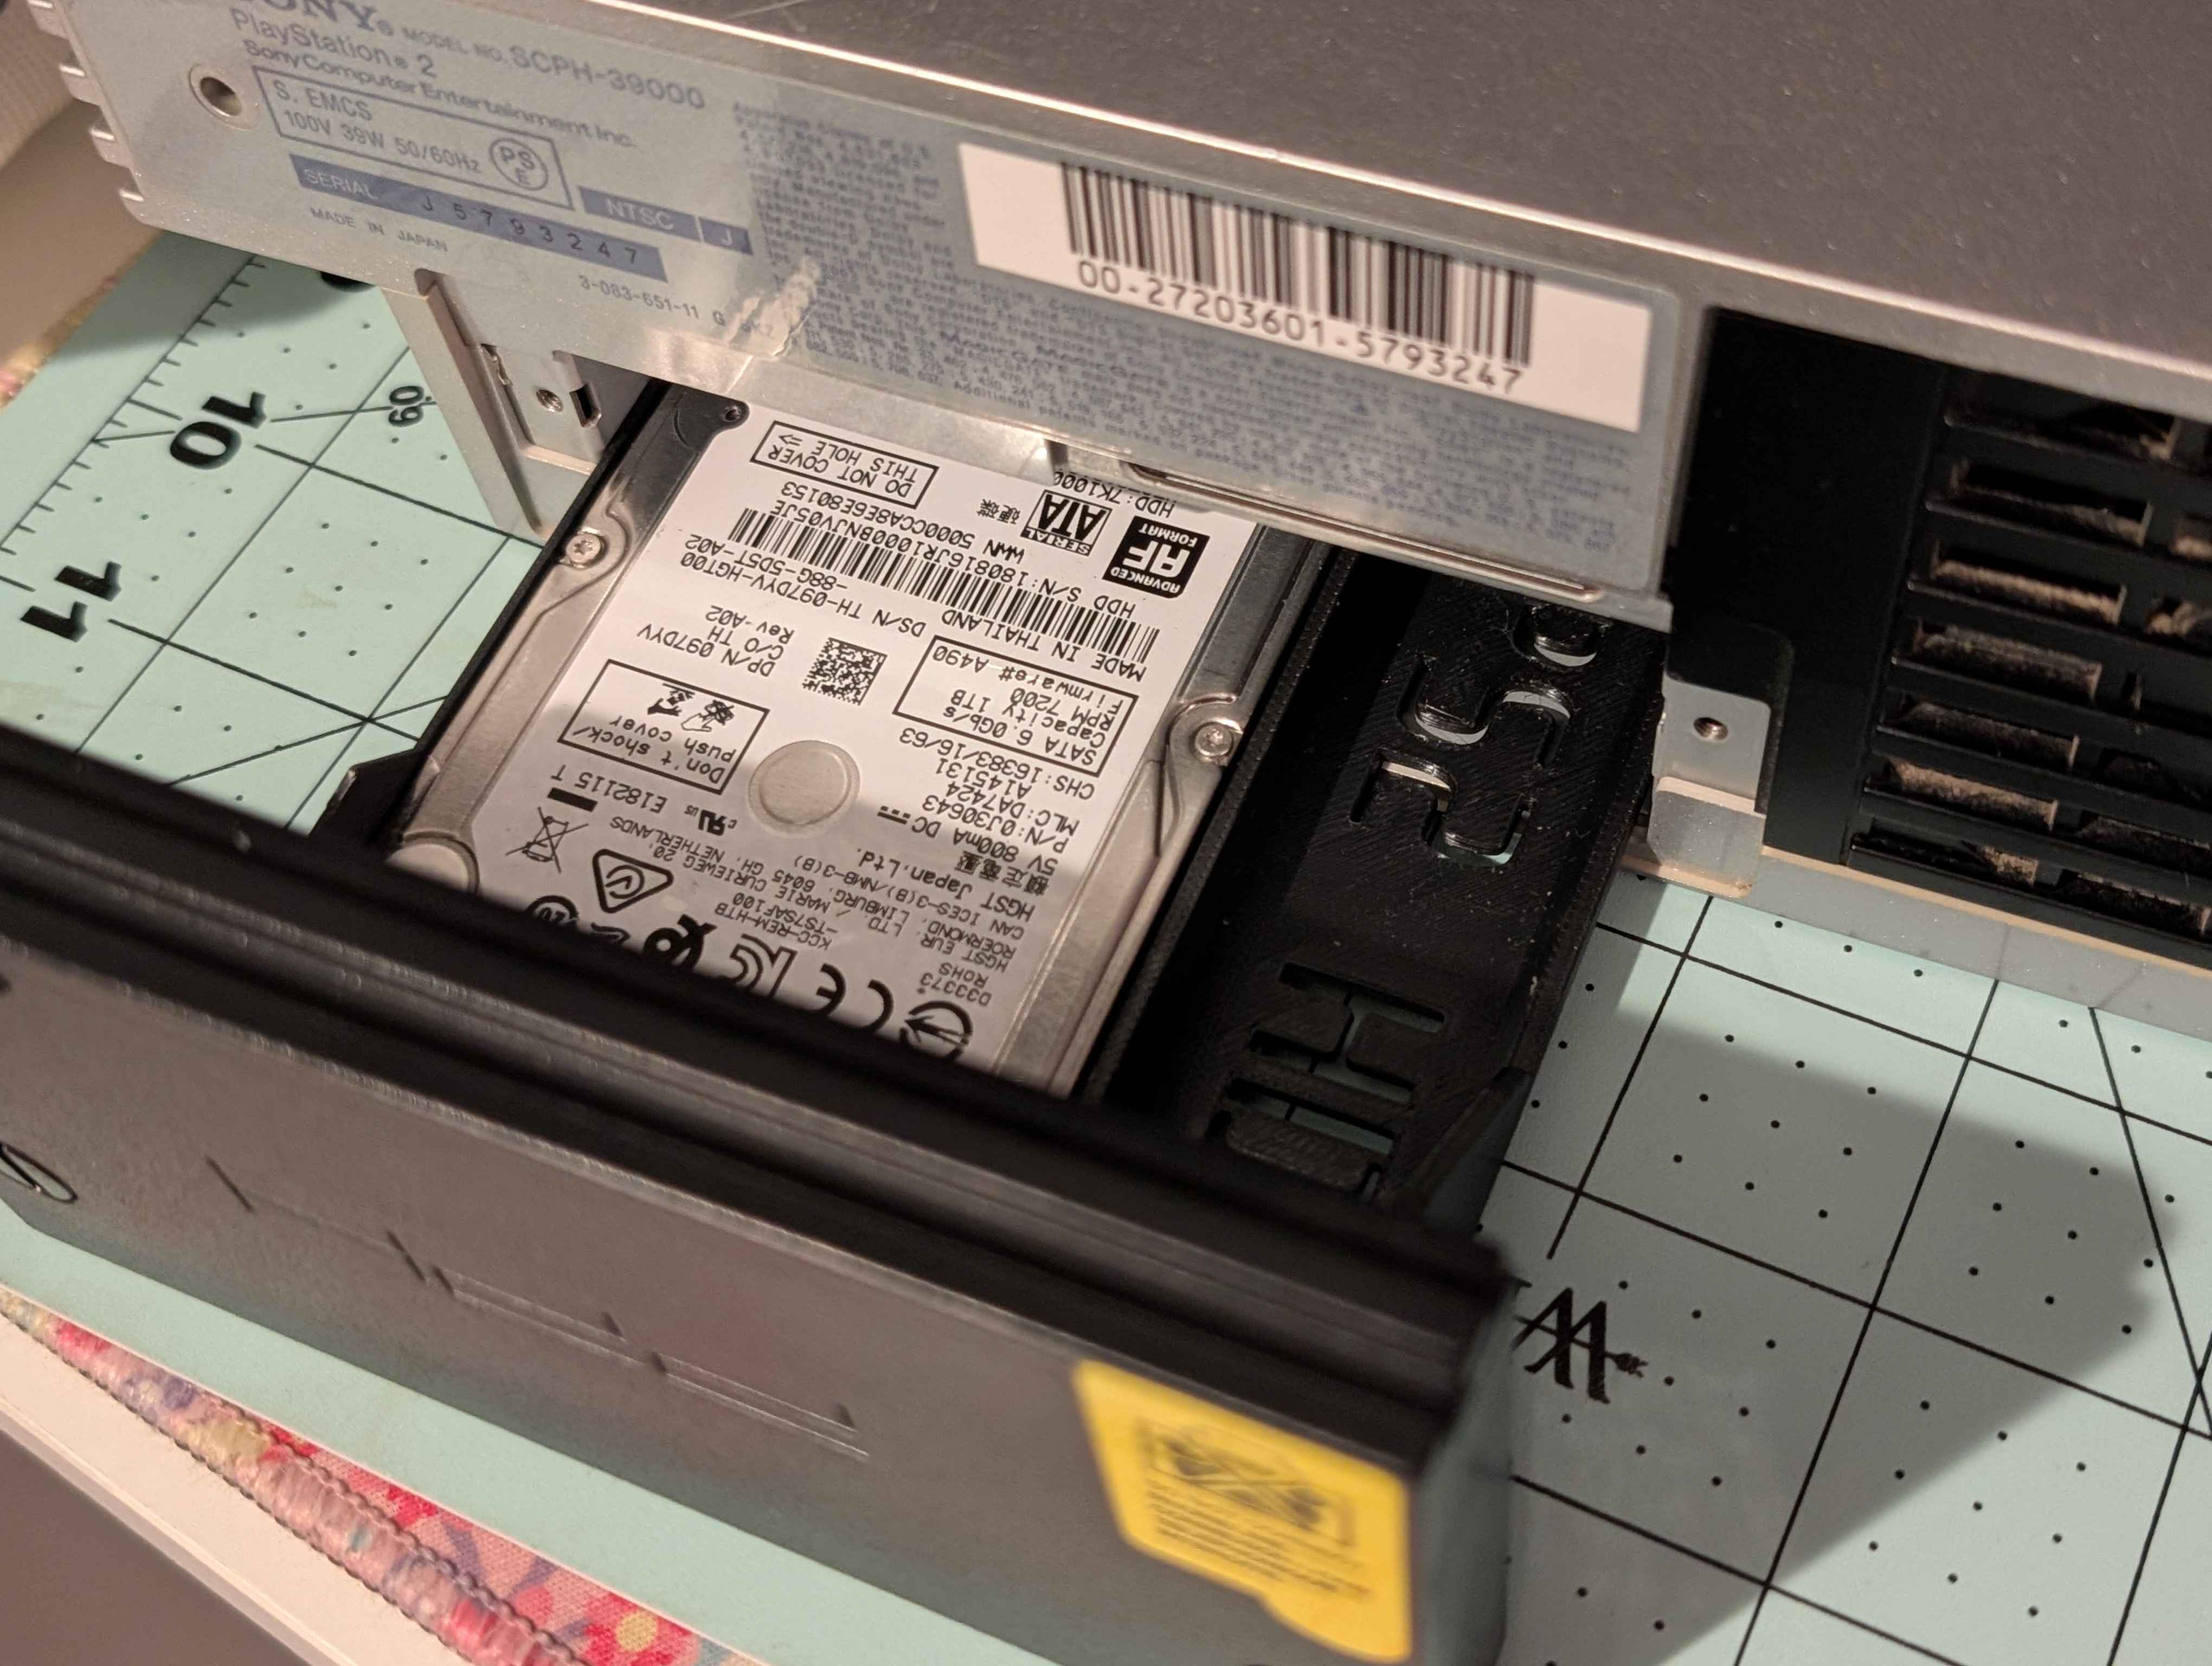
Carefully push the whole adapter and bracket into the harddrive bay.

Make sure to fully push the adapter into the port shown above. As shown below, there should be no gaps between the console and the adapter.

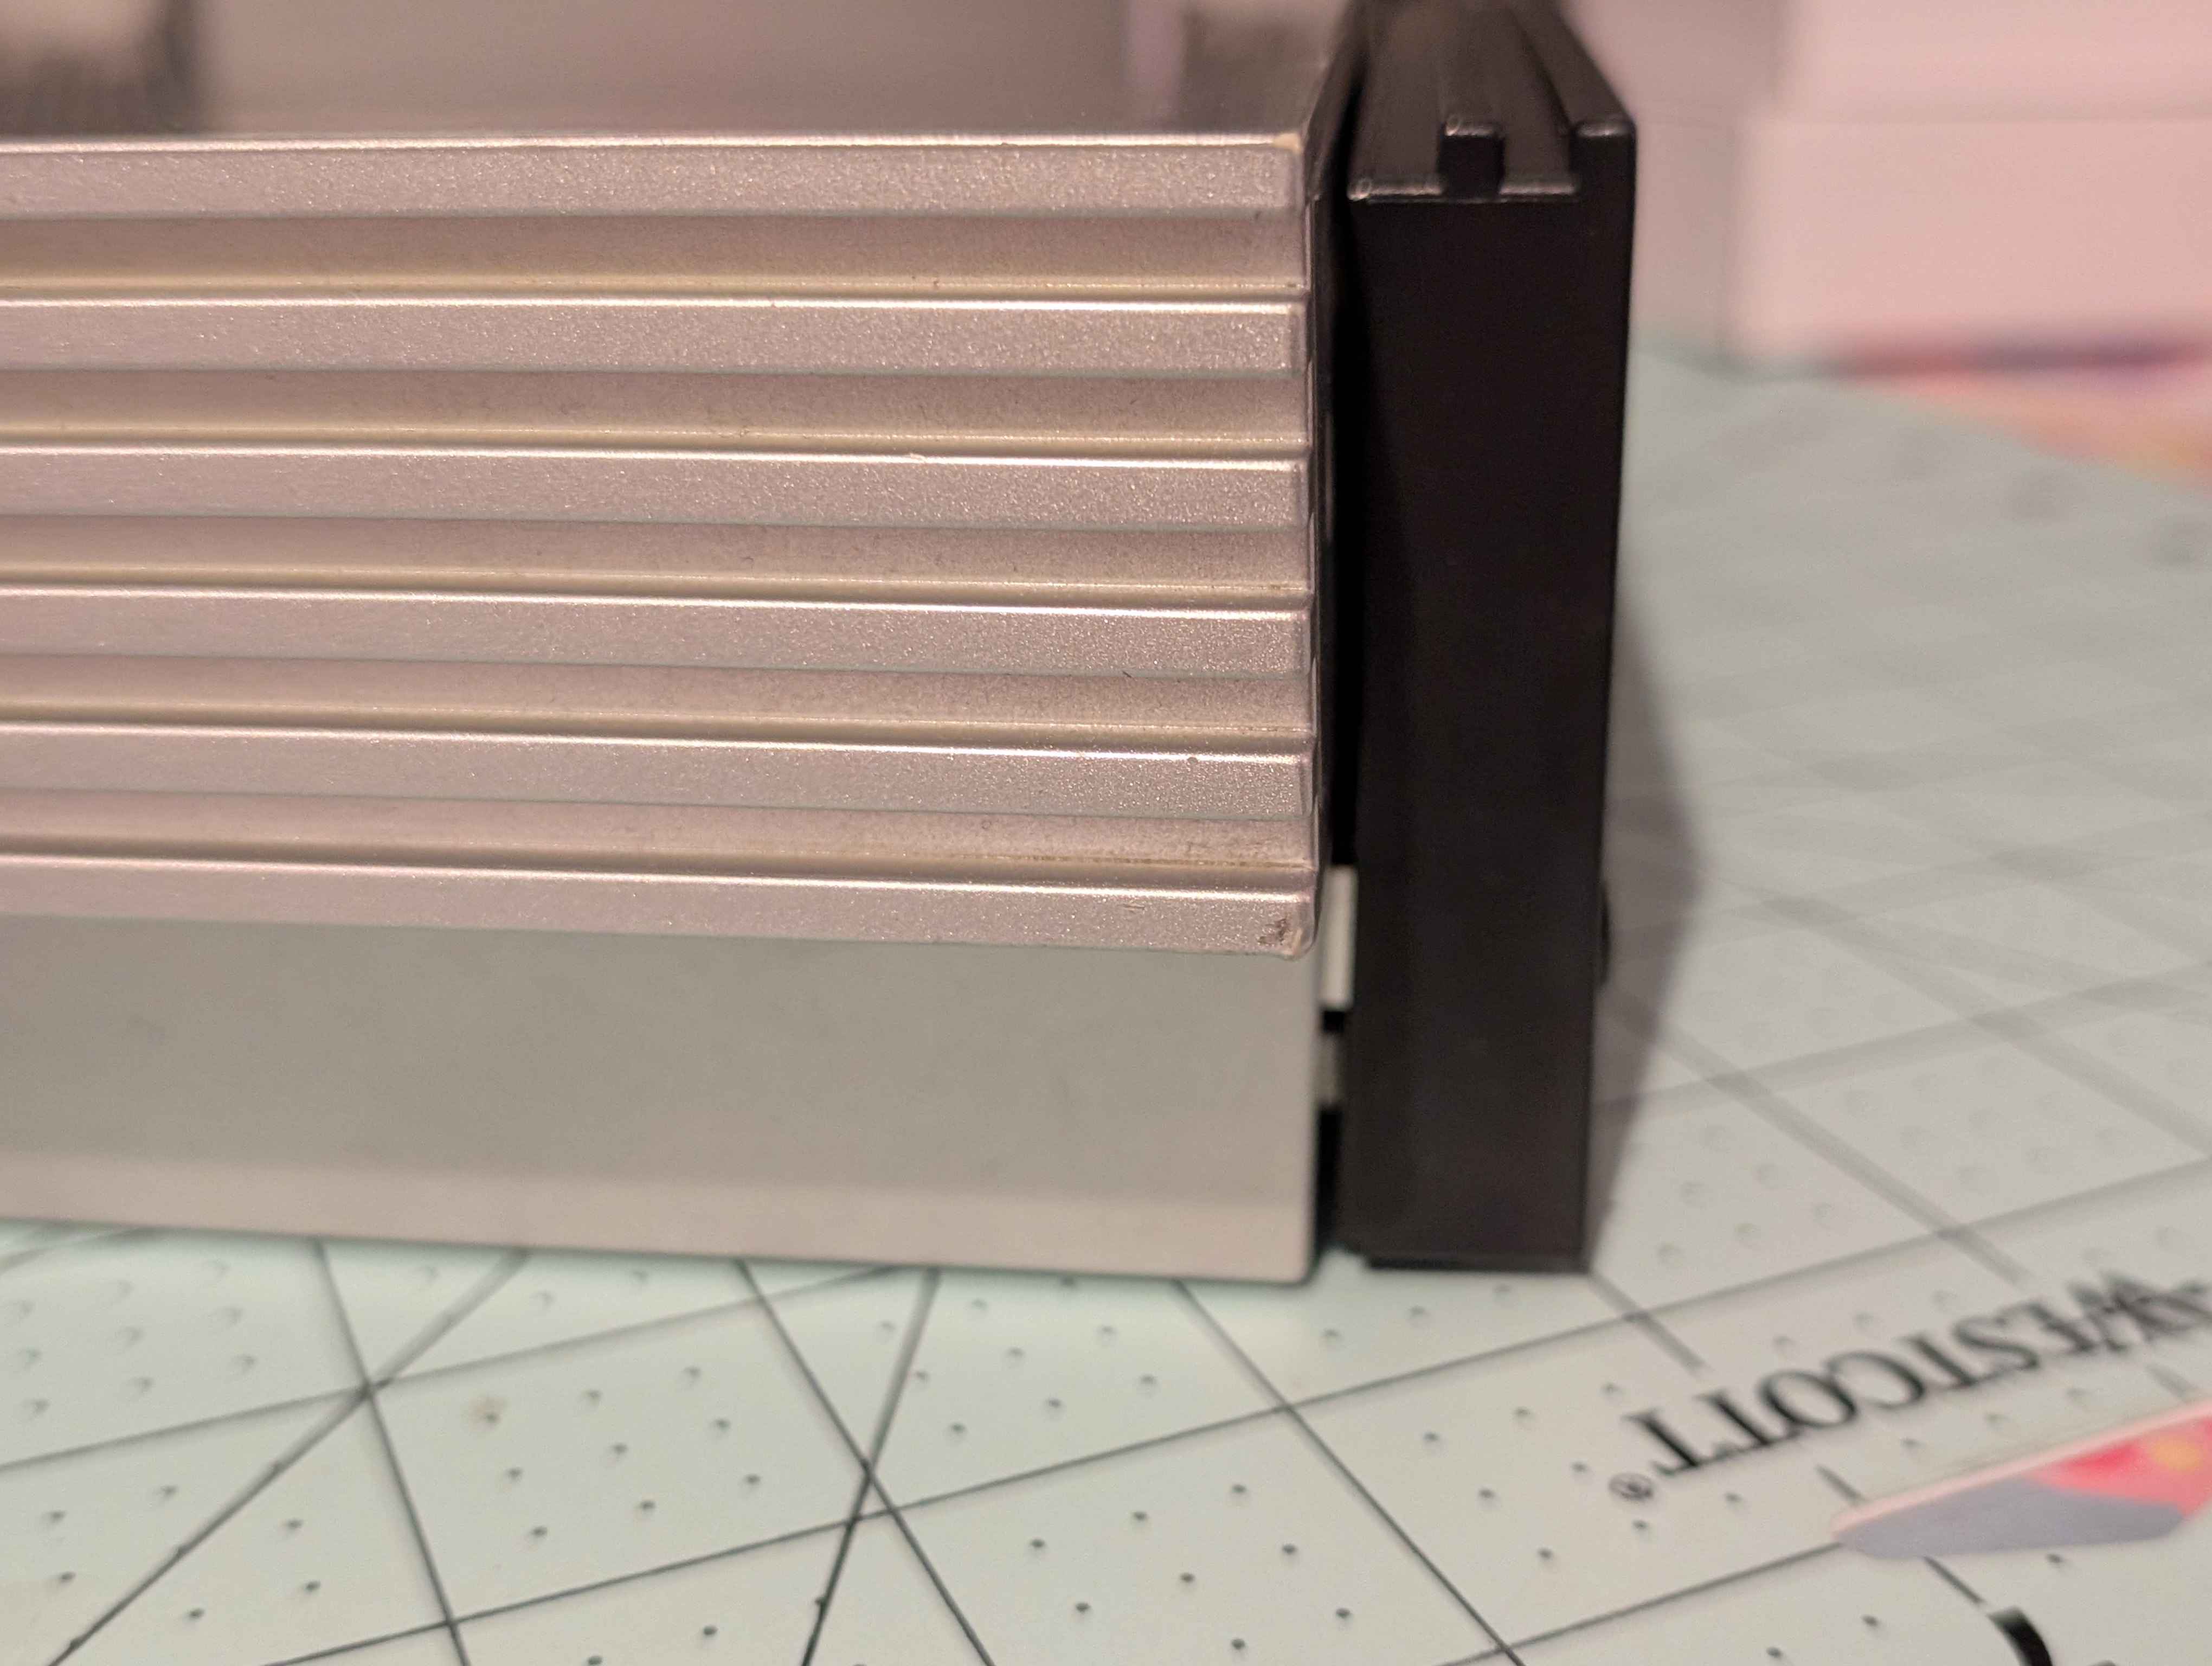
Use a flathead screwdriver or coin to tighten the screws on the back of the adapter. This will secure it to the back of your PS2.

Now you can use the two labeled memory cards provided in your order. The one marked FMCB can go in the first slot, and the other in the second. This other memory card is just used for your game saves. If you already have your own memory card, feel free to use it here.
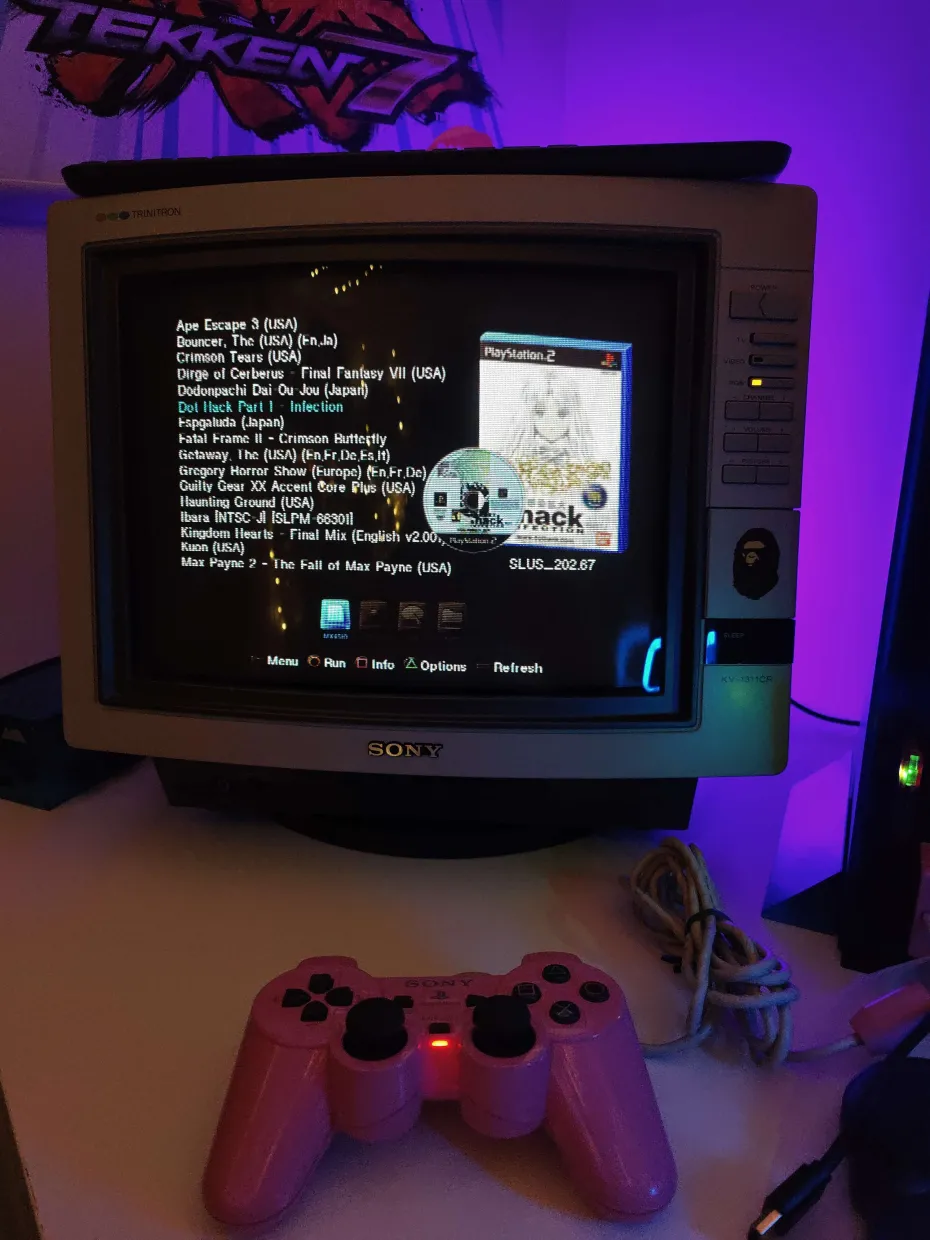
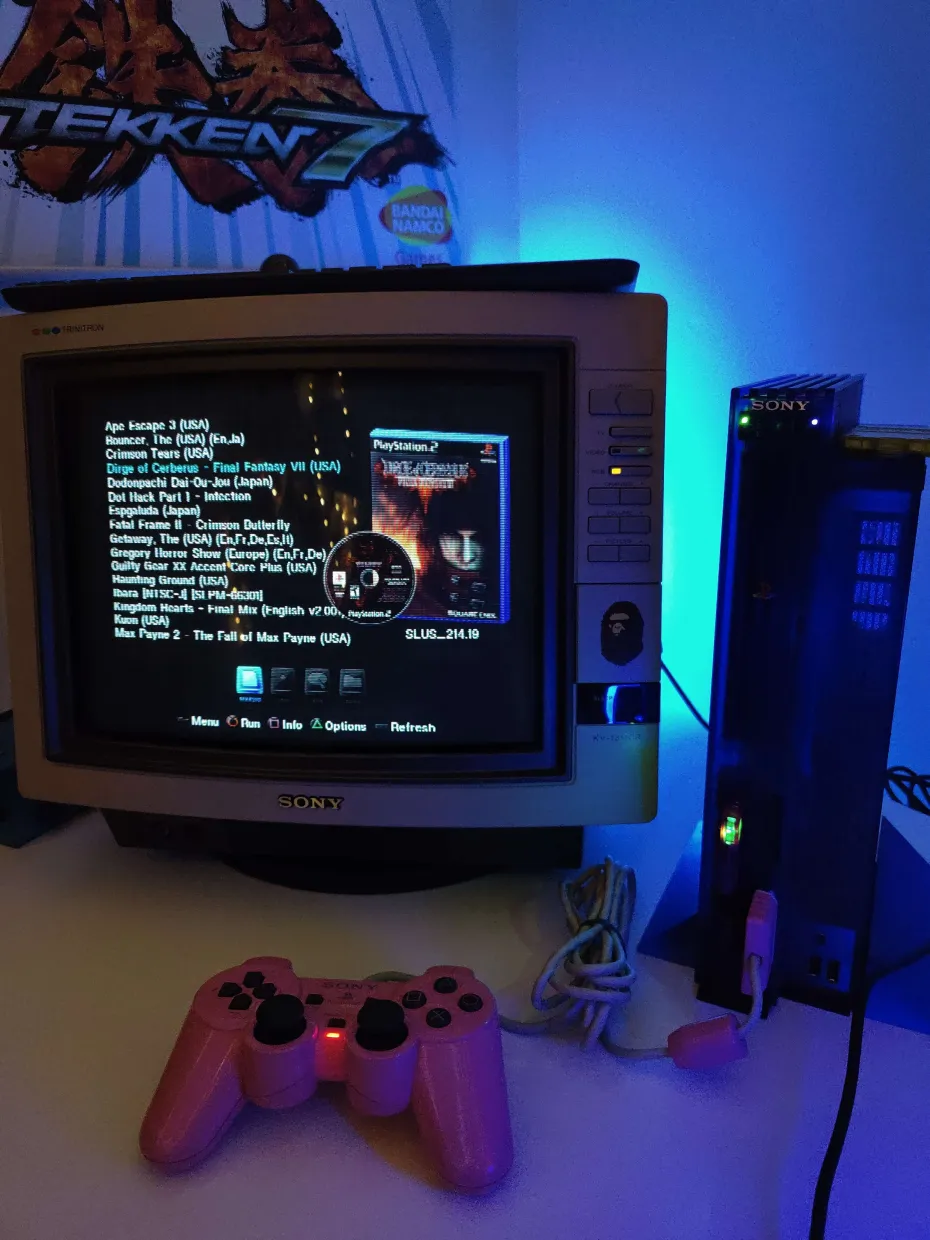
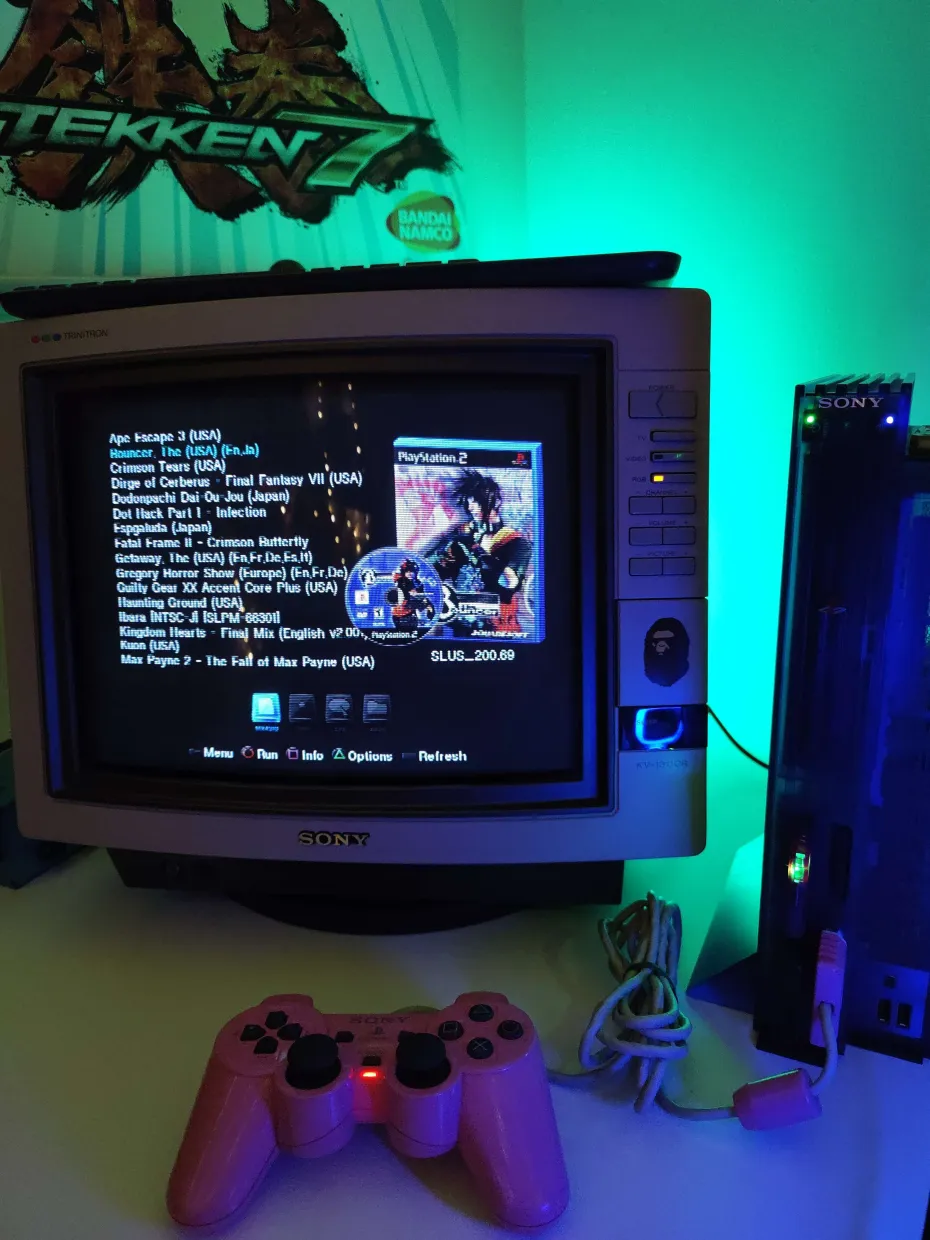
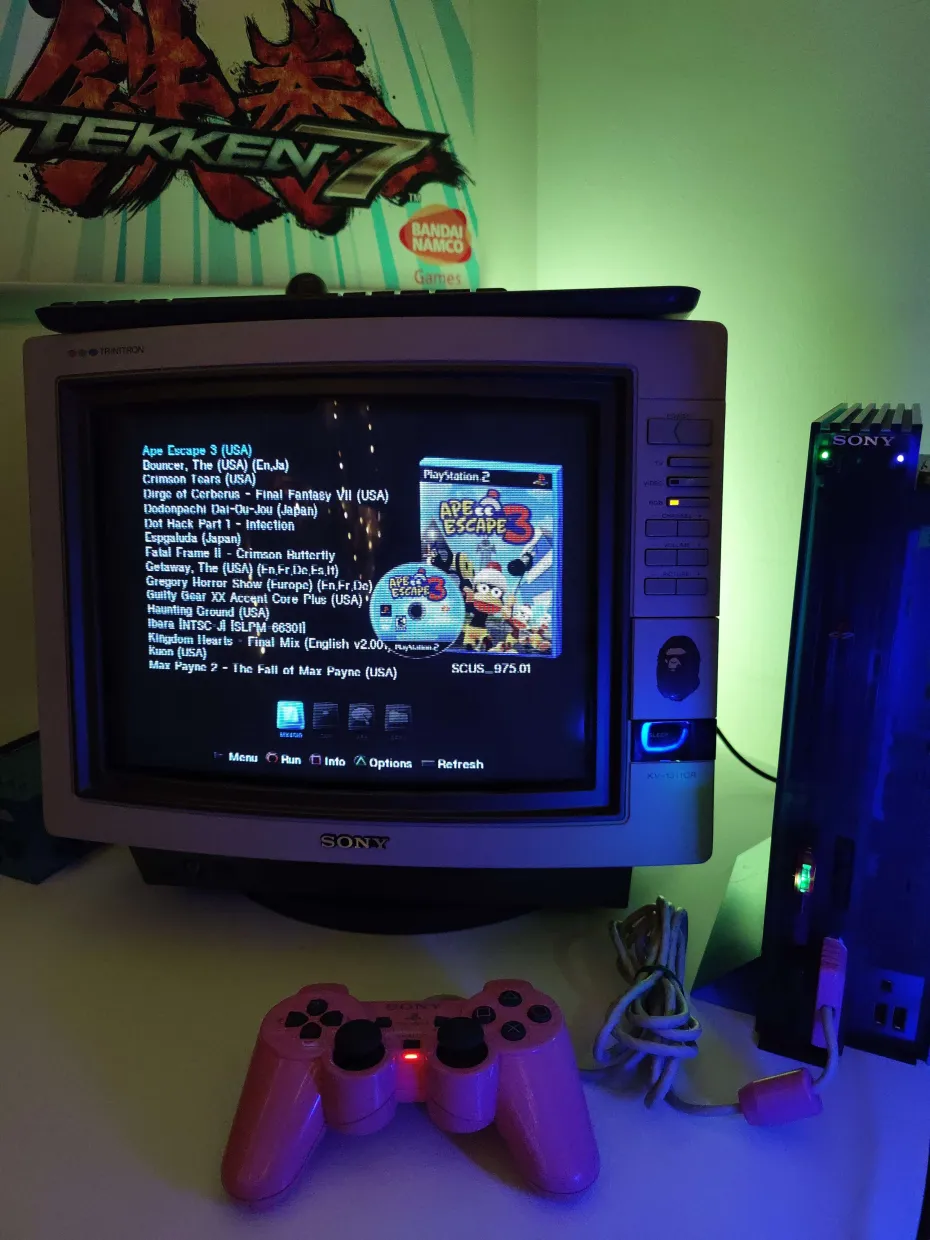
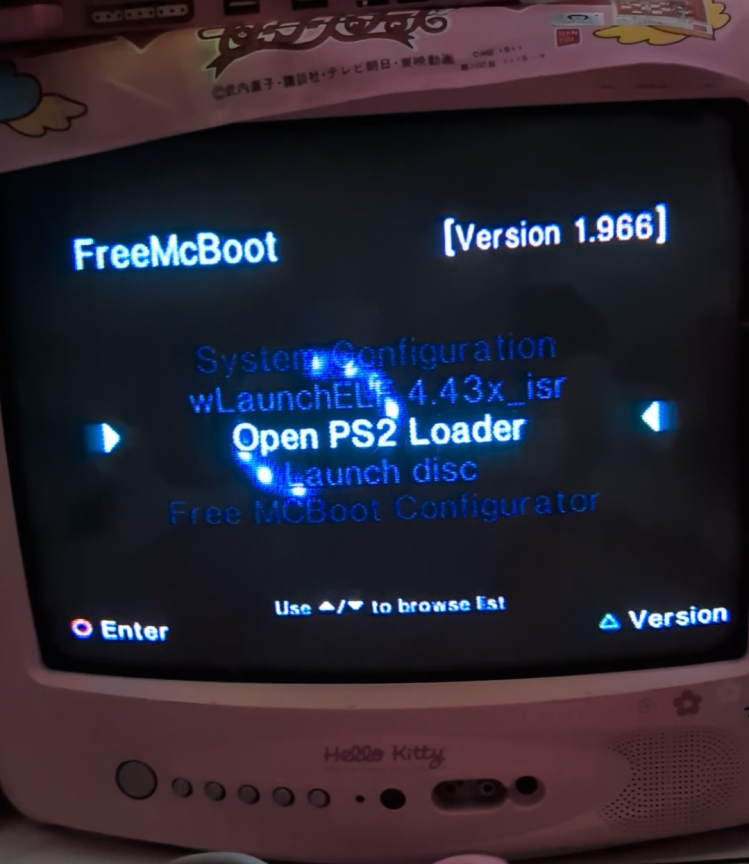
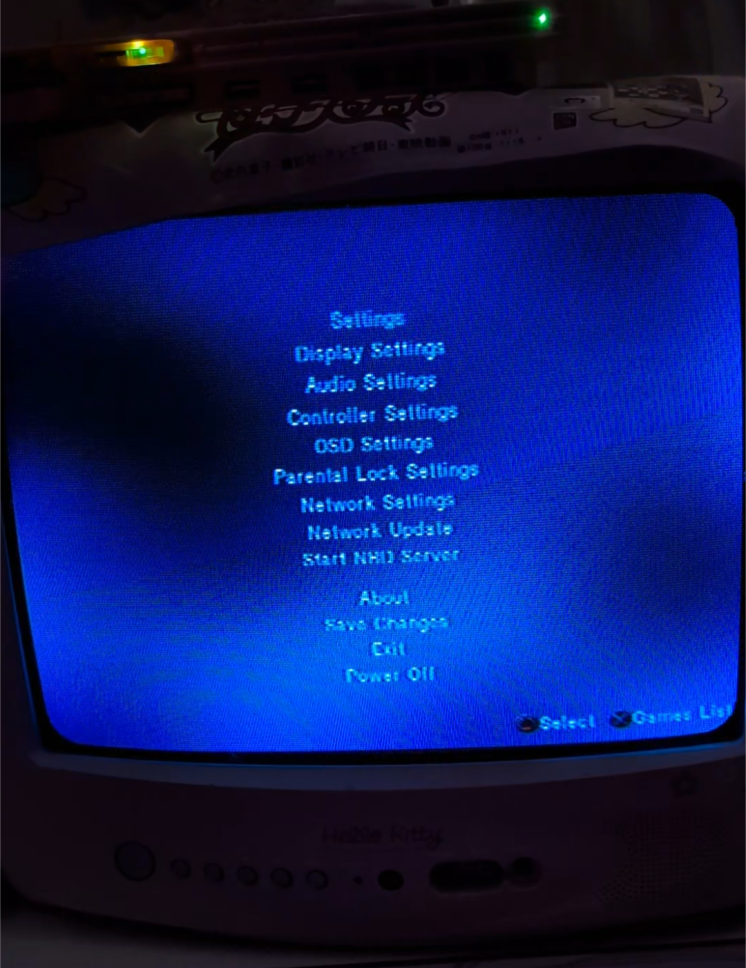
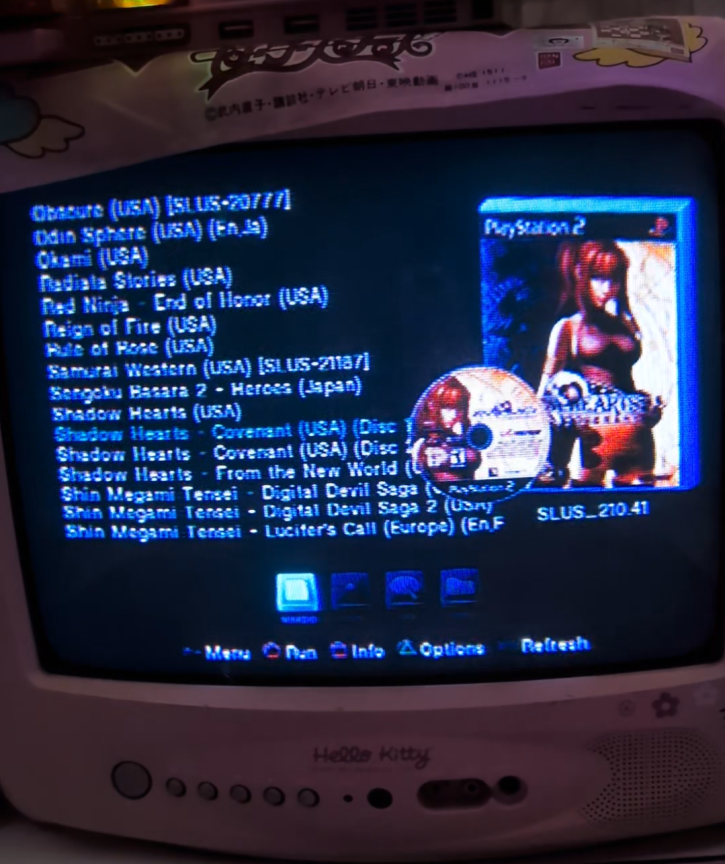
Once your console is on and booted up, you can select "Open PS2 Loader", then press X for the games list.
Some game titles may need additional options to be changed to run smoothly. If you experience stuttering or graphical issues while playing just reach out to us. You can also search the game in question on
this website to see which options you need to change.
Should you have questions or need additional assistance please DM us on IG or email us.
Thank you again for shopping with Melty Mods!


 Introducing Melty Mods MX4SIO + FreeMcBoot Cards for PS2! These cards are compatible with all Playstation 2 Models, both Slim and Phat. Suggested for Slim Models (compatibility).